Summary
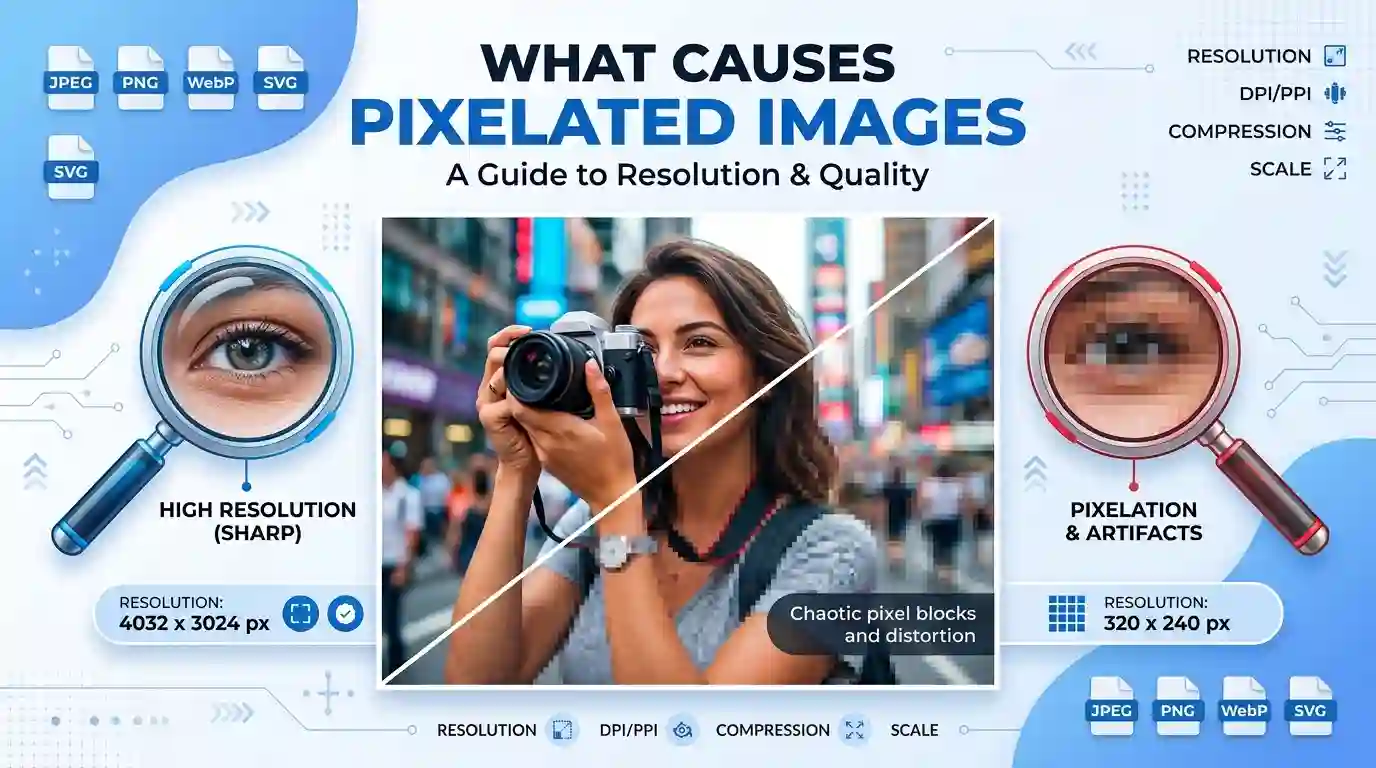
What Causes Pixelated Images is usually a combination of low resolution, excessive enlargement, compression, poor export settings, incorrect file formats, or image editing mistakes. Pixelation happens when the square pixels that make up a digital image become visible, making the picture look blocky, blurry, jagged, or low quality. Understanding why images become pixelated helps you choose the right image format, resize visuals correctly, preserve sharpness, and create professional-looking graphics for websites, social media, print, ecommerce, and branding.
Table of Content
- What Causes Pixelated Images? The Basic Explanation
- Why Image Resolution Matters
- What Causes Pixelated Images When Enlarging Photos
- Compression and File Format Problems
- How Editing, Screenshots, and Exports Create Pixelation
- Web Design Mistakes That Lead to Pixelated Images
- How to Fix What Causes Pixelated Images in Common Workflows
- Best Practices to Prevent Pixelated Images
- Conclusion
- FAQs
What Causes Pixelated Images? The Basic Explanation
Pixelated images appear when individual pixels become noticeable instead of blending smoothly into a clean visual. Every digital image is made from tiny colored squares called pixels. When there are enough pixels packed closely together, the human eye sees a sharp and detailed picture. But when an image has too few pixels, is stretched beyond its original dimensions, or is saved with poor compression settings, those squares become visible.
This is why a small logo may look fine on a phone screen but appear blocky when placed on a large website banner. It is also why a downloaded thumbnail may look terrible when used as a featured blog image. The file may not contain enough image data to support the larger display size.
Pixelation is most common in raster images such as JPEG, PNG, GIF, BMP, and WebP. Raster images are built from fixed pixel grids. Once you enlarge them too much, the software has to guess how to fill the missing details. This guessing process is called interpolation, and while modern tools can help, they cannot always recreate real detail that was never there.
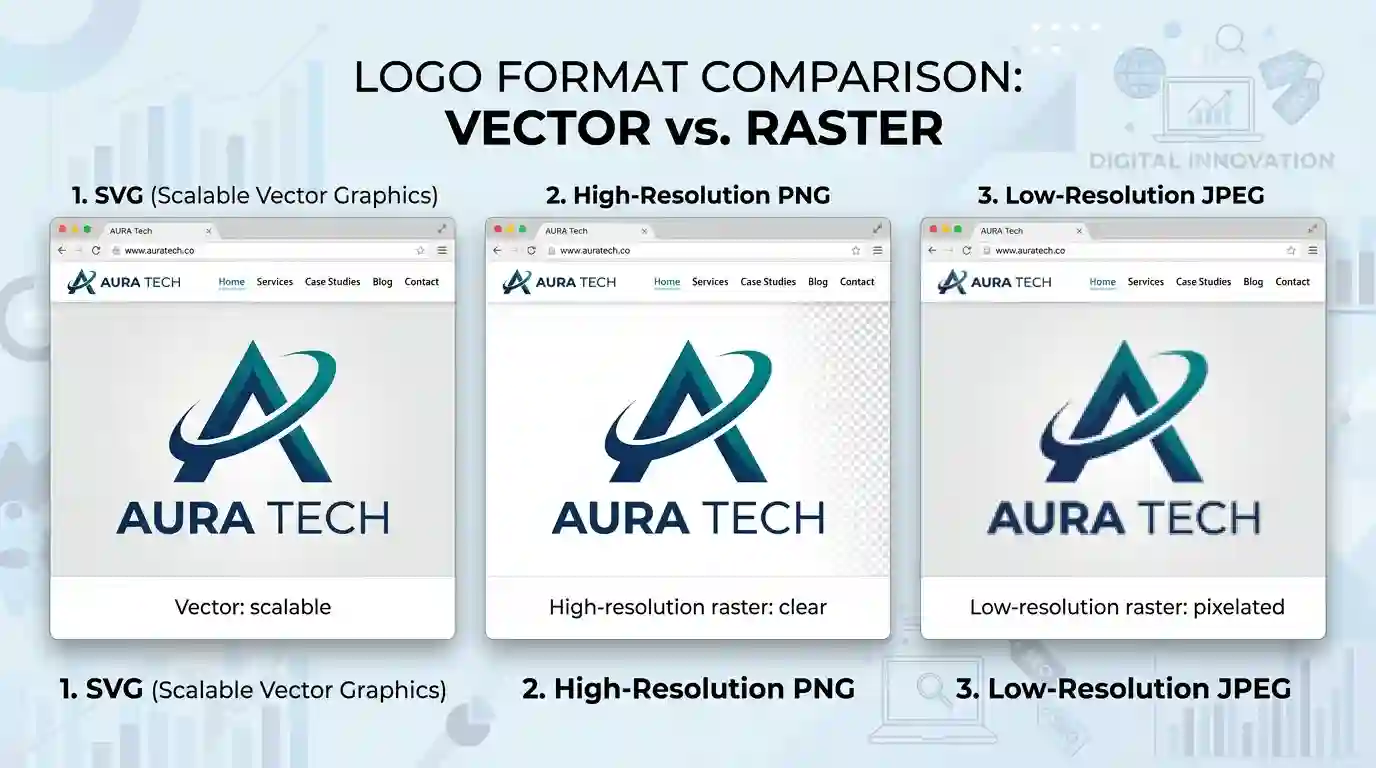
Vector graphics, such as SVG files, behave differently. They are made from mathematical paths rather than fixed pixels, so they can be scaled up or down without becoming pixelated. That is why logos, icons, and simple illustrations are often best saved as vector files when possible.
Why Image Resolution Matters
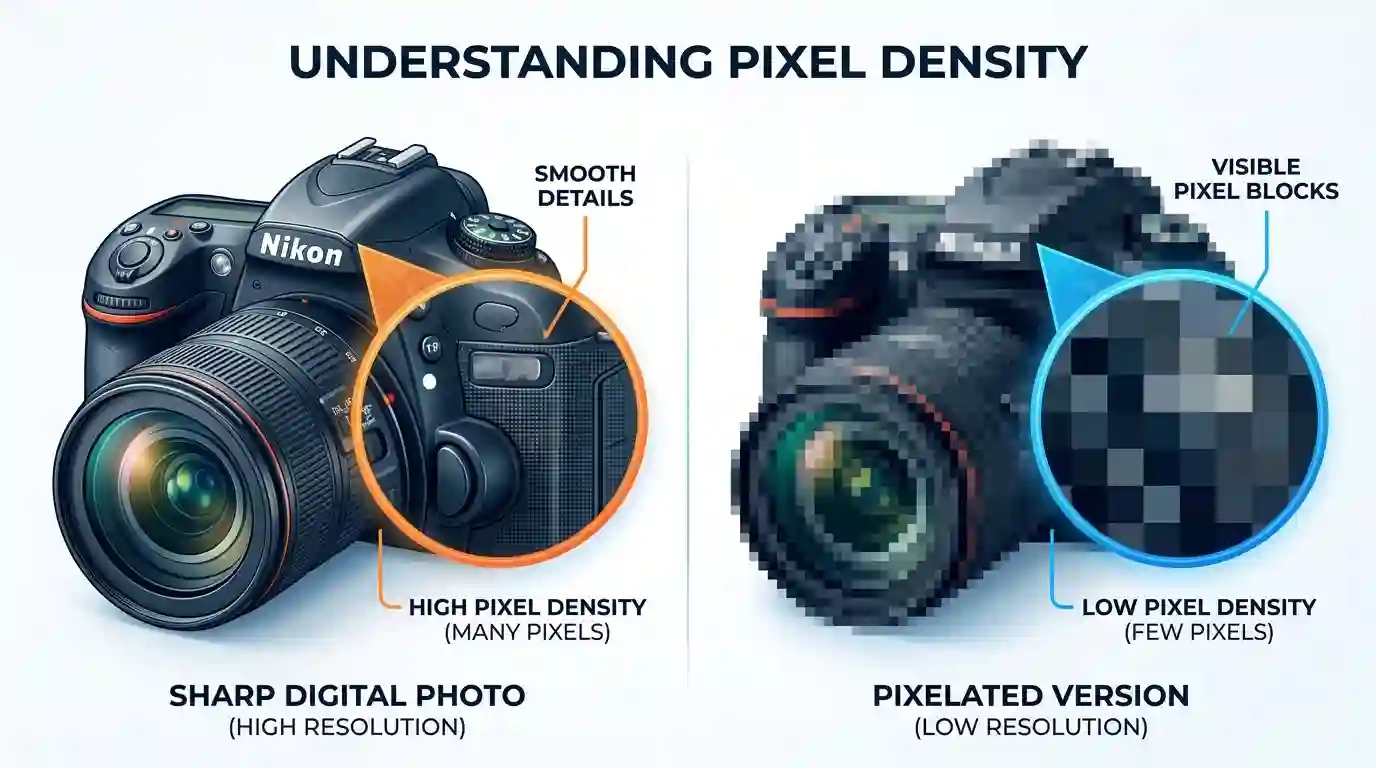
Image resolution is one of the biggest reasons behind pixelation. Resolution refers to the number of pixels in an image, usually shown as width by height. For example, an image that is 3000 × 2000 pixels has six million pixels, or six megapixels. An image that is only 600 × 400 pixels has far less detail.
When an image is displayed at or below its original size, it usually looks sharp. But when it is enlarged beyond its pixel dimensions, the pixels stretch. The more you enlarge it, the more obvious the blocky edges become.
Resolution is especially important for:
- Website hero images
- Product photos
- Blog featured images
- Social media graphics
- Printed flyers and posters
- Profile photos and logos
- Screenshots and tutorials
A common mistake is confusing screen size with image quality. A picture may appear large on your screen, but that does not mean it has enough actual pixels. For example, a 400 × 300 image may look acceptable as a small thumbnail, but it will look pixelated if used in a 1200-pixel-wide blog header.
Another related term is PPI, or pixels per inch. PPI matters when preparing images for screens and print layouts. For digital use, pixel dimensions are usually more important than traditional print-based measurements. For print, DPI or PPI becomes more critical because printed materials need higher pixel density to avoid blurry or jagged output.
For a deeper technical explanation, Adobe’s guide to image resolution is a useful external resource: Adobe image resolution guide.
What Causes Pixelated Images When Enlarging Photos
One of the most common answers to “What Causes Pixelated Images” is simple enlargement. When you take a small image and scale it up, you ask the editing software to create new pixels that were not in the original photo.
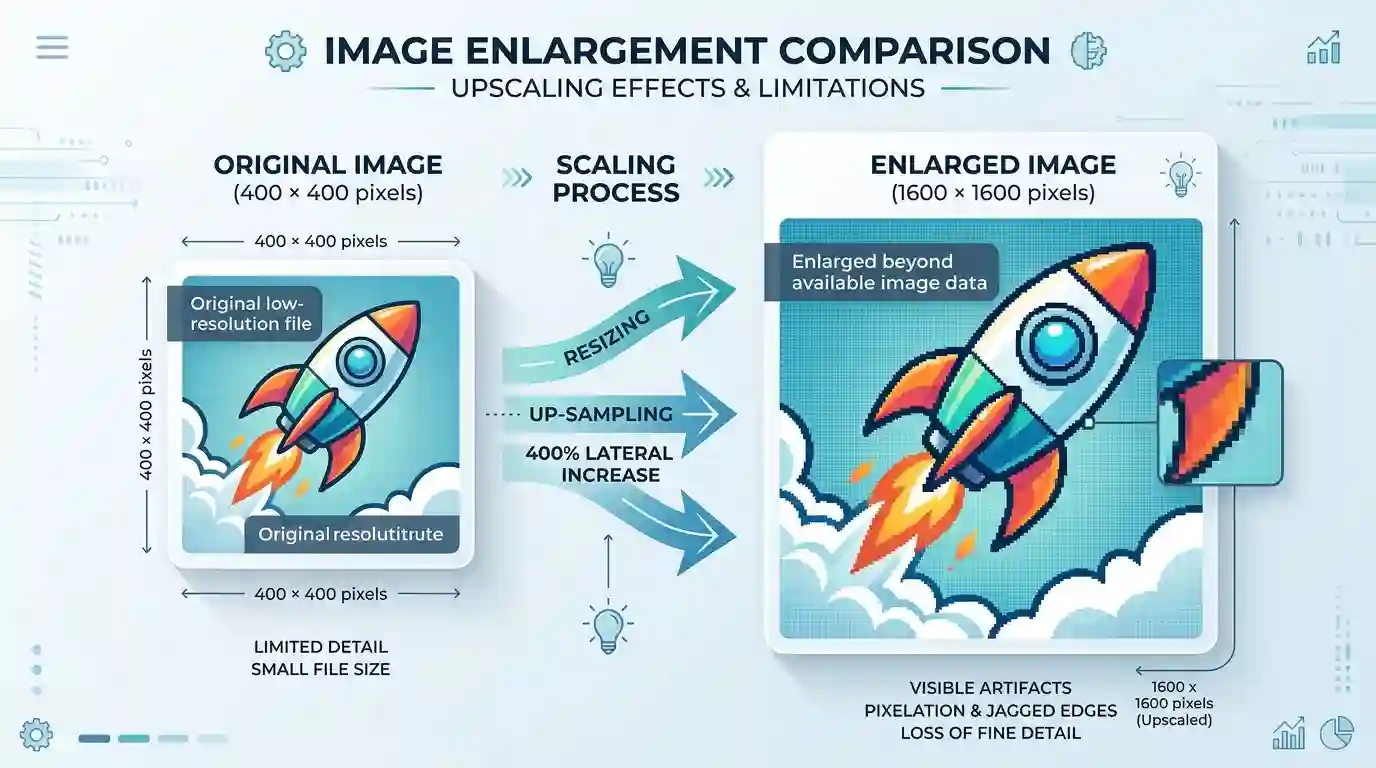
For example, imagine you have a 500 × 500 pixel image. If you enlarge it to 2000 × 2000 pixels, the software must fill in millions of missing pixels. Basic resizing methods may simply duplicate nearby pixels, causing the image to look blocky. More advanced methods use algorithms to estimate colors and edges, but the result may still look soft, artificial, or blurry.
This issue is very common when people:
- Use small images from search previews
- Download thumbnails instead of full-size images
- Enlarge old photos
- Stretch logos in website builders
- Resize social media images incorrectly
- Use screenshots as large banners
- Upload low-resolution product images to ecommerce stores
Enlarging a photo is different from improving its quality. Upscaling can increase dimensions, but it cannot fully restore natural details if the original image is too small. AI image upscalers can help in some cases, but the best solution is always to start with a high-resolution image.
Pixelation vs Blurriness
Pixelation and blurriness are related, but they are not the same. Pixelation creates visible square blocks or jagged edges. Blurriness makes an image look soft, out of focus, or smeared. Sometimes both problems appear together, especially after repeated resizing, compression, and sharpening.
A pixelated image often has hard blocky edges. A blurry image may still have enough pixels, but the details are not crisp. Understanding the difference helps you choose the right fix. A pixelated image may need a higher-resolution source, while a blurry image may need better focus, sharpening, or less compression.
Compression and File Format Problems
Compression is another major cause of pixelated or distorted images. Image compression reduces file size by removing or simplifying image data. This is useful for faster websites and smaller storage, but too much compression can damage visual quality.
JPEG is a lossy image format. That means it permanently removes some data when saved. A lightly compressed JPEG can look excellent, but a heavily compressed JPEG can show visible artifacts. These artifacts may appear as blocky patches, fuzzy edges, color banding, or rough details around text and lines.
PNG, on the other hand, is usually lossless. It preserves more image data and is often better for graphics, screenshots, icons, and images with transparent backgrounds. However, PNG files can be larger than JPEGs, especially for detailed photographs.
If you are working with format conversions, using the right tool matters. For example, you can use this jpg to png convert tool when you need to convert a JPEG image into PNG format for better compatibility, editing, or transparency-related workflows.
JPEG, PNG, WebP, and SVG
Different file formats are designed for different purposes.
JPEG is usually best for photographs, realistic images, and large visuals where smaller file size is important. However, repeated JPEG saving can reduce quality over time.
PNG is better for screenshots, transparent images, logos, UI graphics, and visuals with sharp edges. If transparency is important, read this guide on PNG vs JPEG for Transparency to understand why PNG is often the better choice.
WebP is a modern image format that can offer strong compression with good quality, making it useful for websites. However, poor export settings can still lead to quality loss.
SVG is ideal for logos, icons, and simple illustrations because it scales without pixelation. Since SVG is vector-based, it does not rely on a fixed pixel grid.
Repeated Saving Reduces Quality
Another hidden cause of pixelation is repeatedly editing and saving the same JPEG file. Each time a JPEG is saved with lossy compression, more image data may be discarded. Over time, this can create compression artifacts, blocky textures, and degraded sharpness.
To avoid this, keep an original high-quality master file. Edit from the master version, then export a final optimized copy for web or sharing.
How Editing, Screenshots, and Exports Create Pixelation
Image editing mistakes can also create pixelated results. Many people accidentally reduce image quality during cropping, resizing, exporting, or uploading.
Cropping can lower the final resolution if you cut out a small part of an image and then enlarge it. For example, if you crop a person’s face from a wide group photo, that cropped area may not have enough pixels to become a large portrait.
Screenshots are another common issue. A screenshot captures only what appears on your screen at that moment. If the original item is displayed small, the screenshot will also contain limited detail. Enlarging it later often causes pixelation.
Export settings matter too. If you export an image at a low quality percentage, small width, or incorrect format, the final file may look poor even if the original design was sharp.
Text and Logos Pixelate Quickly
Text, logos, icons, and line art show pixelation faster than photos because they contain sharp edges. A photograph may hide minor quality loss because it has natural textures and gradients. But a logo with clean lines can look jagged immediately when resized incorrectly.
This is why businesses should avoid using small JPEG logos on websites, banners, invoices, or presentations. Whenever possible, use SVG for logos or high-resolution PNG files when SVG is not available.
Web Design Mistakes That Lead to Pixelated Images
Websites often suffer from pixelated images because of poor upload, resizing, or display practices. A common mistake is uploading a small image and forcing it to appear larger with CSS. The browser can stretch the image visually, but it cannot add real detail.
For example, if your website layout displays a blog image at 1200 pixels wide, uploading a 600-pixel-wide image will likely make it look soft or pixelated. The browser has to enlarge it, which reduces visual quality.
Content management systems like WordPress may also create multiple image sizes after upload. This is helpful for performance, but sometimes the wrong thumbnail size gets displayed in a larger area. As a result, the image appears pixelated even though a higher-quality version exists in the media library.
Retina and High-Density Displays
Modern screens, including Retina displays and high-density mobile screens, make image quality more noticeable. An image that looks acceptable on an older monitor may appear blurry on a high-density display because the screen has more pixels packed into the same physical space.
To keep images sharp on modern devices, web designers often use larger source images and responsive image techniques. This allows browsers to serve the right image size based on the device, screen density, and layout.
Social Media Compression
Social media platforms often compress uploaded images to save bandwidth and storage. If you upload an already compressed or low-resolution image, the platform may compress it again, making pixelation worse.
To avoid this, start with the recommended image dimensions for each platform and export at high quality. Avoid uploading tiny graphics, screenshots of screenshots, or images that have already been heavily compressed.
How to Fix What Causes Pixelated Images in Common Workflows
Fixing pixelated images depends on the cause. There is no single solution for every image, but the right workflow can improve quality and prevent future problems.
Start With a Higher-Resolution Source
The best fix is to use a larger original image. If a photo is pixelated because it is too small, replacing it with a higher-resolution version will produce the best result. Look for the original camera file, full-size download, or source design file.
Avoid Enlarging Small Images
Try not to scale raster images beyond their original dimensions. Reducing an image is usually safe, but enlarging it too much can create visible quality loss. If you must enlarge an image, use a high-quality upscaling tool and compare the result carefully.
Choose the Right File Format
Use JPEG for photographs when file size matters. Use PNG for screenshots, transparent graphics, and sharp-edged visuals. Use SVG for logos and icons whenever possible. Use WebP for optimized website images if your platform supports it.
Choosing the wrong format can create unnecessary pixelation, compression artifacts, or transparency problems.
Export With Better Settings
When exporting images, check the width, height, quality level, compression setting, and file type. For website images, balance quality and performance. A file that is too large can slow down a site, but a file that is too compressed can look unprofessional.
For most blog graphics, export at the actual display size or slightly larger. For product images, use consistent dimensions and avoid aggressive compression. For logos, use vector files or high-resolution transparent PNGs.
Use Sharpening Carefully
Sharpening can improve perceived detail, but too much sharpening creates halos, jagged edges, and noise. It cannot truly restore missing pixels. Use sharpening as a final enhancement, not as a replacement for proper resolution.
Recreate Graphics When Needed
If a logo, icon, chart, or text-based image is badly pixelated, the best solution may be to recreate it from scratch. Rebuilding the design as an SVG or high-resolution PNG can give much better results than trying to repair a damaged low-resolution file.
Best Practices to Prevent Pixelated Images
Preventing pixelation is easier than fixing it. A good image workflow protects quality from the beginning.
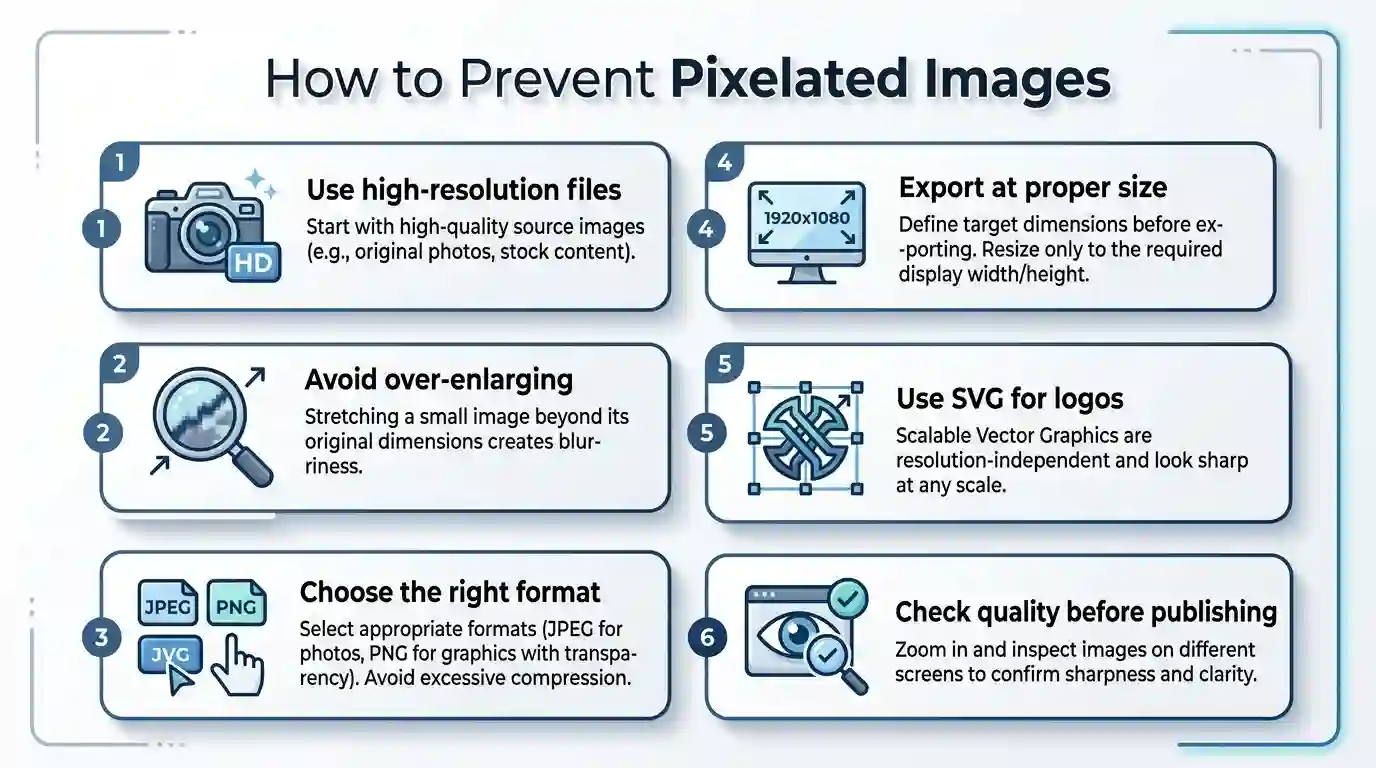
Always save an original master file before resizing or compressing. Use high-resolution source images for blog posts, product listings, banners, and social media graphics. Avoid downloading thumbnails or preview images for professional use.
When designing for websites, know the final display size before exporting. If your blog content area is 900 pixels wide, do not upload images that are only 500 pixels wide. If your hero banner is 1600 pixels wide, use an image that meets or exceeds that width.
For logos and icons, use SVG whenever possible. If SVG is not available, use a large transparent PNG. Avoid small JPEG logos because they often show compression artifacts and jagged edges.
Also, be careful with image editing apps that automatically compress files. Some mobile apps, messaging platforms, and online tools reduce quality during sharing. Whenever possible, transfer original files instead of compressed versions.
Recommended Image Quality Checklist
Before publishing an image, check the following:
- Is the image large enough for its display size?
- Has it been enlarged too much?
- Is the file format suitable for the image type?
- Are text, logos, and edges sharp?
- Has the image been compressed too aggressively?
- Does it look good on mobile and desktop?
- Is there a better source file available?
- Are you using SVG for scalable graphics?
This simple checklist can prevent many common image quality issues.
Conclusion
Pixelated images are usually caused by low resolution, excessive resizing, lossy compression, poor export settings, incorrect file formats, or using small images in large display areas. The problem happens because raster images are made from fixed pixels, and once those pixels are stretched or damaged, the image loses clarity.
The best way to avoid pixelation is to start with high-quality source files, choose the correct image format, resize images carefully, and export them with the right settings. Use JPEG for photographs, PNG for screenshots and transparency, SVG for logos and icons, and WebP when you need optimized website performance.
Whether you are preparing images for a blog, ecommerce store, social media campaign, presentation, or print design, understanding what causes pixelated images helps you create sharper, cleaner, and more professional visuals.
FAQs
What causes pixelated images?
Pixelated images are caused by low resolution, enlarging small images, heavy compression, poor export settings, or using the wrong file format. When there are not enough pixels to display smooth detail, the image appears blocky or jagged.
Can a pixelated image be fixed?
A pixelated image can sometimes be improved with AI upscaling, sharpening, or better export settings. However, the best fix is to use a higher-resolution original file because missing image detail cannot always be fully restored.
Why do images become pixelated when enlarged?
Images become pixelated when enlarged because the original file does not contain enough pixels for the new size. The software has to create extra pixels by guessing, which can lead to blocky edges and blurry details.
Does JPEG cause pixelation?
JPEG can cause visible artifacts if it is heavily compressed or saved repeatedly. These artifacts may look like blocky patches, rough edges, or blurry textures. JPEG is useful for photos, but it should be exported with balanced quality settings.
Is PNG better than JPEG for avoiding pixelation?
PNG is often better for screenshots, logos, graphics, and transparent images because it preserves sharp edges and does not use the same lossy compression as JPEG. However, JPEG is usually better for large photographic images where smaller file size is important.
Why does my logo look pixelated on my website?
Your logo may look pixelated because it is too small, saved as a low-quality JPEG, stretched by CSS, or displayed on a high-density screen. Use an SVG logo whenever possible, or upload a larger transparent PNG.
Do screenshots become pixelated?
Yes, screenshots can become pixelated if they are enlarged beyond their captured size. A screenshot only records the pixels visible on your screen, so increasing its size later can make it look blurry or blocky.
What is the best image format for sharp graphics?
SVG is best for scalable graphics like logos and icons. PNG is a strong choice for screenshots, transparent images, and graphics with sharp edges. JPEG is better for photographs, while WebP is useful for optimized website images.
How do I prevent pixelated images on a website?
Use images that are equal to or larger than their display size, avoid stretching small files, choose the right format, use responsive image sizes, and export with proper compression settings. Also check how images look on mobile, desktop, and high-density displays.
Why are social media images pixelated after uploading?
Social media platforms compress images after upload. If your image is already small or heavily compressed, the platform’s additional compression can make it look worse. Upload images at recommended dimensions and use high-quality exports.